Deploy Your First Smart Contract Using Remix IDE
This article will help you write and deploy your first smart contract directly from your browser using Remix IDE.

This guide will help you write and deploy your first smart contract directly from your browser, even if you have no prior knowledge of Ethereum or blockchain technology. You will learn how to use the Solidity language, a MetaMask wallet, and the Remix Development Environment. These tools are accessible for free and do not require any sign-up.
Objective
By following this guide, you will create and deploy a simple "Hello World" smart contract through the following steps:
- Write the Contract: Define the contract's functionality, including the data it stores, the contracts it interacts with, and any external APIs it calls.
- Compile the Contract: Use a compiler to translate your smart contract code into bytecode that the blockchain can understand. For instance, Solidity code must be compiled before it can run on the Ethereum Virtual Machine (EVM).
- Deploy the Contract: Send the compiled bytecode to the blockchain. Once deployed, the contract is immutable but remains interactive.
- Execute Functions: Run the defined functions of your contract. The network processes these functions and updates the contract's state. Some functions may incur a small fee, known as gas. Your contract can also include functions for transferring funds to other contracts or wallets.
This guide will take you through each of these steps in detail.
Steps to Implement
I. Install and Fund Your MetaMask Wallet
Deploying smart contracts on the blockchain requires a wallet and some ETH. The ETH is used to pay for the computational work required by the Ethereum network to add your contract to the blockchain and store its variables. MetaMask is a popular wallet that can be installed as a browser extension. Here’s how to get started:
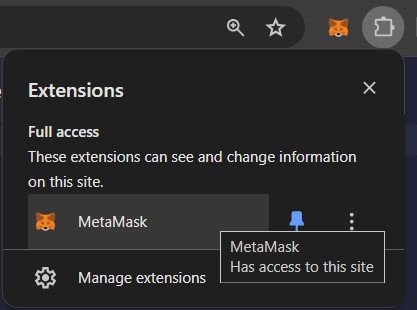
- Install MetaMask:
- Download and install the MetaMask extension in your browser.
- After installation, open your browser extension list and click on MetaMask to launch it.
- Create a Wallet:
- Follow the on-screen instructions in MetaMask to create a new wallet.
- During setup, you will receive a 12-word mnemonic phrase. This phrase is crucial for accessing your wallet. Write it down and store it securely. This phrase allows you to recover your wallet if needed.
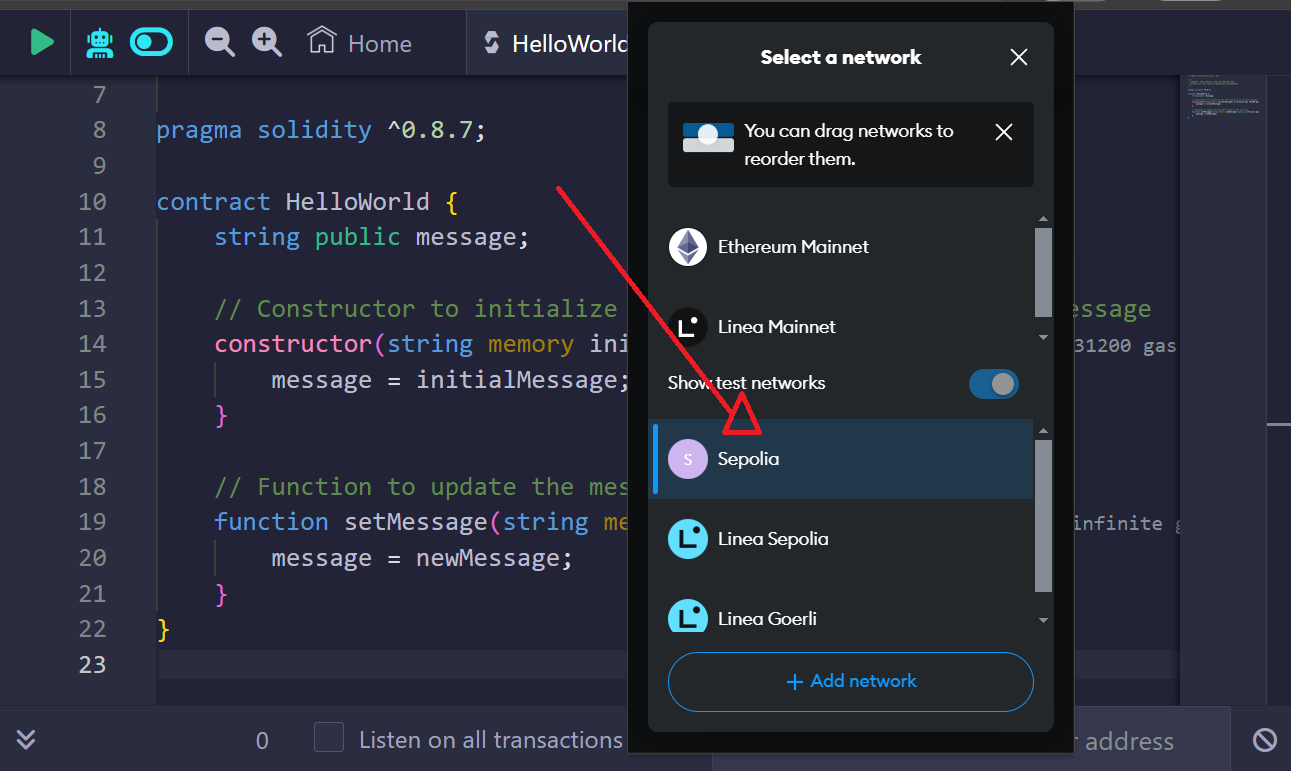
- Configure MetaMask for Sepolia Testnet:
- Set MetaMask to use the Sepolia test network.
- Fund Your Wallet with Testnet ETH:
- Visit SepoliaETH and follow the instructions to send testnet ETH to your MetaMask wallet address.
- After the transaction is complete, you should see the testnet ETH in your MetaMask wallet on the Sepolia testnet.
Now that your wallet is configured and funded with testnet ETH, you are ready to write, compile, and deploy your smart contract.
II. Write, Compile, and Deploy Your First Smart Contract
Your first contract will be a simple HelloWorld.sol example, demonstrating how to set and retrieve variables in a smart contract on the blockchain.
// SPDX-License-Identifier: MIT

/**
 * WARNING: THIS CONTRACT USES UN-AUDITED CODE.
 * DO NOT USE THIS CODE IN PRODUCTION ENVIRONMENTS.
 */

pragma solidity ^0.8.7;

contract HelloWorld {
    string public message;

    // Constructor to initialize the contract with an initial message
    constructor(string memory initialMessage) {
        message = initialMessage;
    }

    // Function to update the message stored in the contract
    function setMessage(string memory newMessage) public {
        message = newMessage;
    }
}
- Open/ Copy the example contract in the Remix IDE. Remix opens and shows the contents of the smart contract. You can modify the code in this editor when you write your own contract.
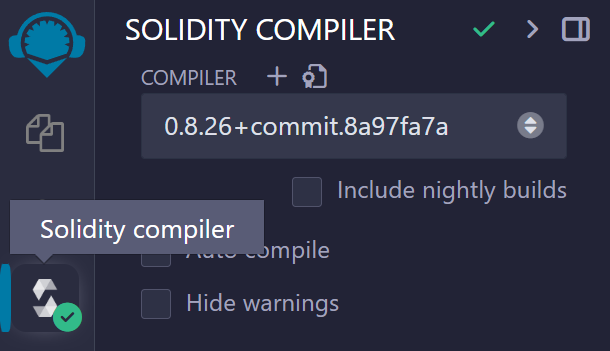
- On the left side of Remix, click the Solidity Compiler tab to view the compiler settings.
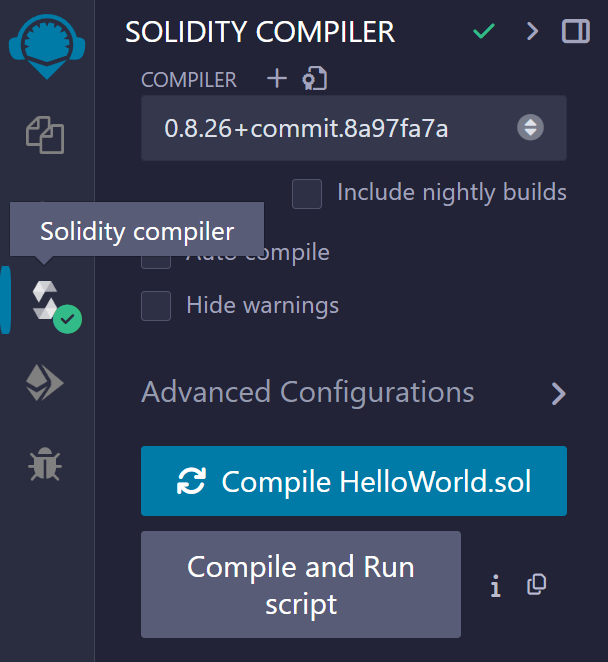
- Use the default compiler settings for this contract. Click the Compile HelloWorld.sol button to compile the contract. This converts the Solidity code into bytecode that the Ethereum Virtual Machine (EVM) can understand. Remix automatically detects the correct compiler version based on the
pragmadirective specified in the contract.
- Deploy the Contract:
- After compiling the contract, it's time to deploy it. Click the Deploy and Run tab on the left side of Remix to view the deployment settings.
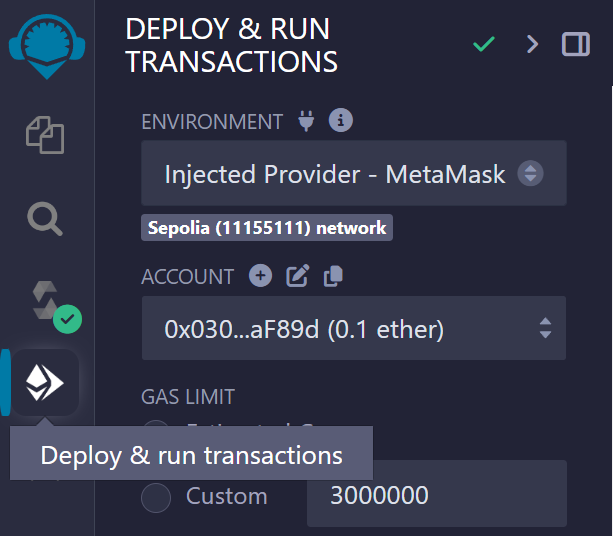
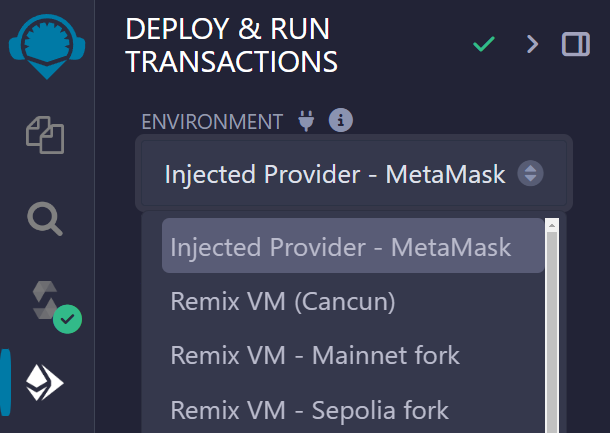
- In the deployment settings, select the Injected Provider - MetaMask environment. This setting tells Remix to use the blockchain network configured in MetaMask for deployment. Alternatively, you can use one of the JavaScript VM options, but these run in a virtual environment with no connection to an actual blockchain.
- Next to the Deploy button, enter the initial message you want to send with the contract when deploying it. This contract's constructor sets an initial message upon deployment.

- Confirm and Deploy:
- Click the Deploy button to deploy the contract and its initial message to the blockchain. MetaMask will prompt you to confirm the payment to deploy the contract. Ensure MetaMask is set to the Sepolia network before confirming the transaction, as blockchain transactions are irreversible.
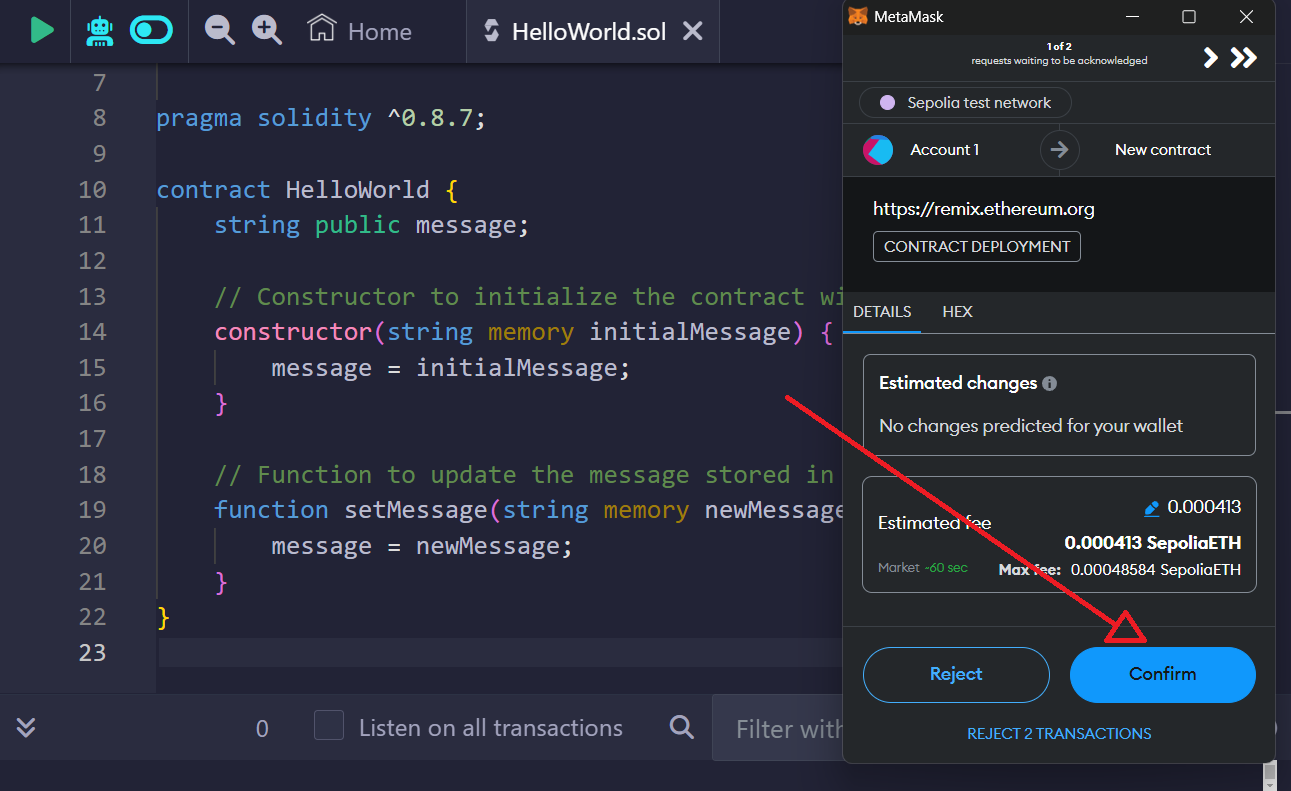
- In the MetaMask prompt, click Confirm to approve the transaction and spend the necessary testnet SepoliaETH to deploy the contract.
- Interact with Your Deployed Contract:
- After a few seconds, the transaction will complete, and your contract will appear under the Deployed Contracts list in Remix. Click the contract dropdown to view its variables and functions.
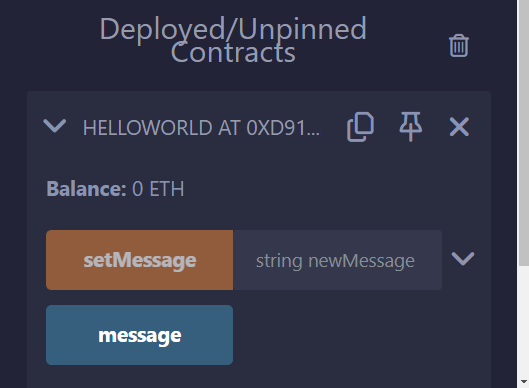
- Click the
messagevariable. Remix will retrieve and display the initial message you set.
Your contract now has an address similar to your wallet address. Save this address to return to your deployed contract at any time to retrieve variables or execute functions. To see details about your deployed contract, copy the contract address from the list in Remix and search for it on the Etherscan Sepolia Testnet Explorer.
III. Run Functions in Your Contract
Once your contract is deployed on the blockchain, its variables and functions are permanently stored and accessible. To modify the message variable stored within your contract, you need to run the setMessage function.
- Enter a New Message:
- In your deployed contract interface within Remix, find the
setMessagefunction. Enter the new message you want to set.
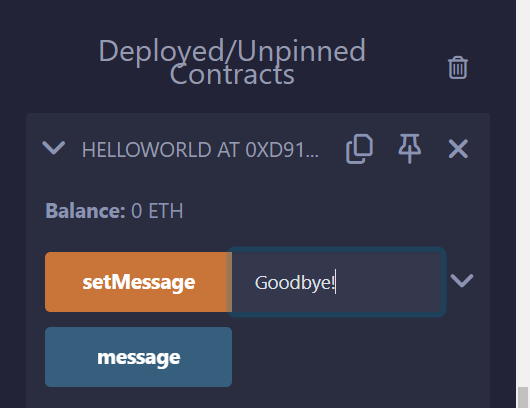
- Update the Message:
- Click the
setMessagebutton to update the message in the contract. MetaMask will prompt you to confirm the transaction, which requires a small payment to change the state of your contract.
- Confirm the Transaction:
- In the MetaMask prompt, click Confirm to approve the transaction.

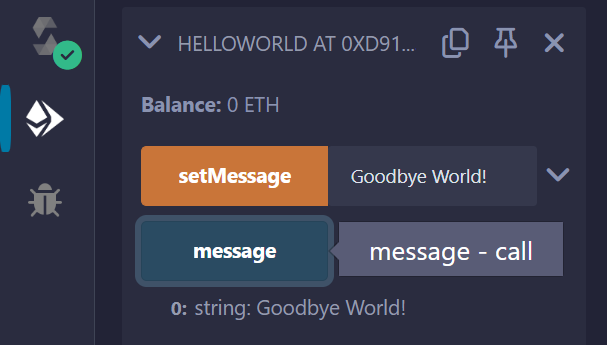
- Check the Updated Value:
- After the transaction is processed, click the
messagevariable again in Remix to view the updated value. Note that it might take a few seconds for the blockchain to reflect the changes.
By following these steps, you can deploy example contracts to a test network and run their functions. This process allows you to write, test, and modify your own contracts with ease.
Join our bounty program today to start building with Reactive Smart Contracts and bring your innovative ideas to life on the Reactive Network!
About Reactive Network
The Reactive Network, pioneered by PARSIQ, ushers in a new wave of blockchain innovation through its Reactive Smart Contracts (RSCs). These advanced contracts can autonomously execute based on specific on-chain events, eliminating the need for off-chain computation and heralding a seamless cross-chain ecosystem vital for Web3’s growth.
Central to this breakthrough is the Inversion of Control (IoC) framework, which redefines smart contracts and decentralized applications (DApps) by imbuing them with unparalleled autonomy, efficiency, and interactivity. By marrying RSCs with IoC, Reactive Network is setting the stage for a transformative blockchain era, characterized by enhanced interoperability and the robust, user-friendly foundation Web3 demands.